
Github Codespaces
Modern development does not always require a fully configured local machine. GitHub Codespaces provides a cloud-based development environment that can be created directly from a GitHub repository.
Instead of manually installing languages, tools, dependencies, and editor extensions, a project can define its development environment as configuration.
Think of Codespaces as a development machine in the cloud, configured for your project.
What is GitHub Codespaces?
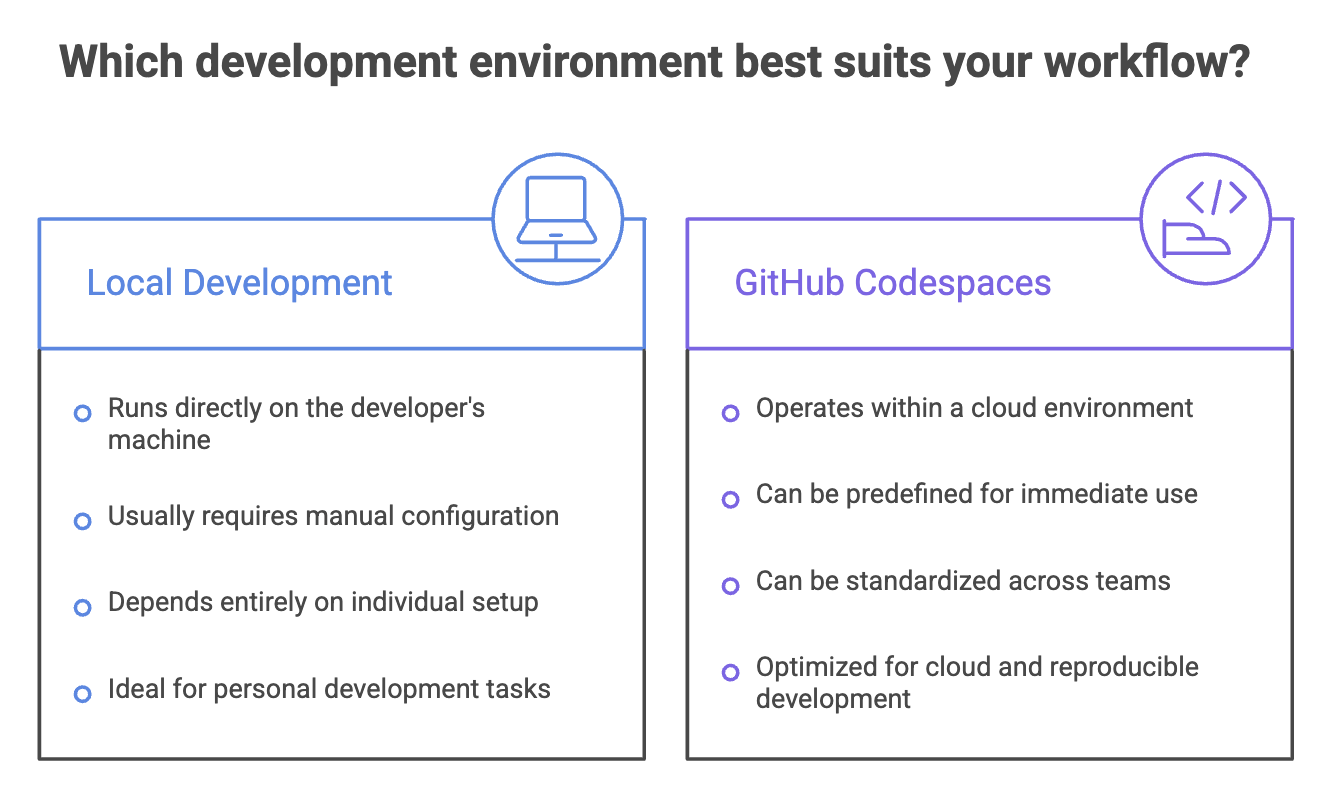
GitHub Codespaces is a cloud-based development environment designed to provide a ready-to-use workspace for a GitHub repository.
A Codespace provides the tools developers normally expect from a local development environment, including:
- Code editor
- Terminal
- Git
- Debugging tools
- Project dependencies
- Development runtimes
- Extensions and configuration
Codespaces can be accessed through:
- Web browser
- VS Code
- Supported JetBrains IDEs
- Terminal through SSH
The environment runs in the cloud, allowing developers to work without depending entirely on the configuration of their local machine.
Why Use Codespaces?
Setting up a project locally can involve several steps:
Install Runtime
      ↓
Install IDE
      ↓
Install Dependencies
      ↓
Configure Tools
      ↓
Configure Environment
      ↓
Clone Repository
      ↓
Start Development
With Codespaces, much of this setup can be defined in the repository:
GitHub Repository
       ↓
Create Codespace
       ↓
Configured Environment
       ↓
Start Development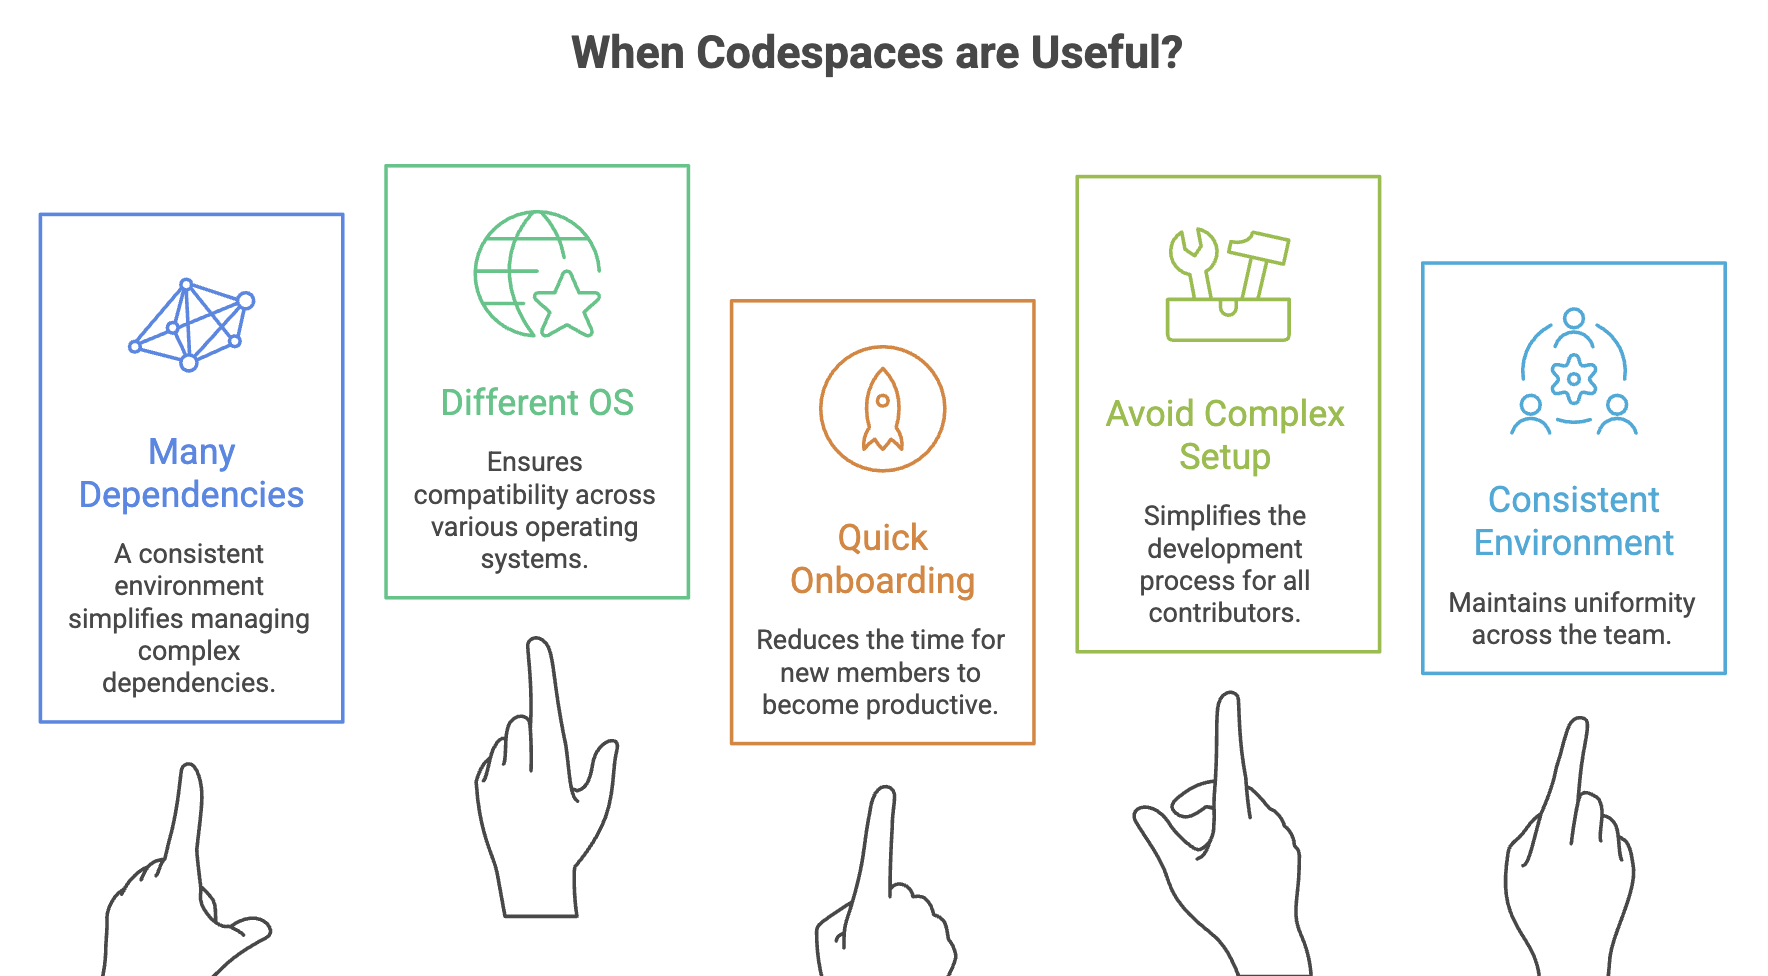
How Does Codespaces Work?
A simplified view is:
Developer
    ↓
Browser / VS Code / JetBrains
    ↓
GitHub Codespaces
    ↓
Cloud Development Environment
    ↓
Container
    ↓
GitHub Repository
The repository is made available inside the development environment.
The developer can then work with familiar tools such as:
Editor
Terminal
Git
Debugger
Build Tools
Testing Tools
From the developer's perspective, the environment behaves much like a local development machine.
Setting Up GitHub Codespaces
Codespaces can be created directly from a GitHub repository.
Step 1: Open a GitHub Repository
Open the repository you want to work with on GitHub.
For example:
https://github.com/<username>/<repository>Step 2: Create a Codespace
From the repository:
- Select Code.
- Open the Codespaces tab.
- Select Create codespace on main or the appropriate branch.
- GitHub starts creating the development environment.
The exact options available may depend on the repository and your GitHub account.
Step 3: Wait for the Environment to Start
GitHub prepares the development environment and opens the Codespace.
You will typically have access to:
┌──────────────────────────────────────┐
│          GitHub Codespace            │
├──────────────────────────────────────┤
│                                      │
│  Code Editor                         │
│                                      │
│  Project Files                       │
│                                      │
│  Terminal                            │
│                                      │
│  Git                                  │
│                                      │
│  Extensions / Tools                  │
│                                      │
└──────────────────────────────────────┘
The repository is available inside the environment, allowing you to start working without configuring the entire project locally.
How to Use a Codespace?
Once the Codespace is ready, the development process is similar to working on a local machine.
1. Open the Project
The repository files are available in the Codespace editor. You can browse and modify the project just as you would in a local development environment.
2. Use the Terminal
Open the integrated terminal and run normal development commands.
For example:
git statusnpm installnpm run devThe commands depend on the technology used by the project.
3. Make Code Changes
Edit the source files, add new files, and modify the project as required.
The changes are made inside the Codespace environment.
4. Run and Test the Application
Start the application using the project's normal development command.
For example:
npm run devor:
mvn spring-boot:runor:
python app.pyThe exact command depends on the project.
5. Access the Application
If the application starts on a port such as:
3000
8080
Codespaces can detect the port and provide a way to access the running application through port forwarding.
The detailed port-forwarding concept is covered later.
6. Use Git
Because the Codespace contains the repository, you can use Git normally:
git status
git add .
git commit -m "Update application"
git push
The changes can then be pushed back to GitHub.
7. Stop or Delete the Codespace
When you finish working, you can stop the Codespace and continue later.
Stop
  ↓
Environment Preserved
  ↓
Start Again Later
If the environment is no longer needed, it can be deleted.
Dev Containers
Codespaces uses container-based development environments, which can be customized using Dev Container configuration.
A repository can contain a configuration directory:
.devcontainer/
    devcontainer.json
The devcontainer.json file describes how the development environment should be configured.
For example:
{
  "name": "My Project",
  "image": "mcr.microsoft.com/devcontainers/typescript-node:1-20-bullseye",
  "forwardPorts": [3000],
  "postCreateCommand": "npm install"
}
The exact configuration depends on the project.
The important idea is:
The development environment becomes part of the project's configuration rather than depending entirely on each developer's machine.
Common devcontainer.json Options
| Option | Purpose |
|---|---|
image | Specifies the base container image |
dockerfile / build | Defines a custom container build |
features | Adds reusable development tools |
forwardPorts | Makes application ports accessible |
postCreateCommand | Runs commands after environment creation |
postStartCommand | Runs commands when the environment starts |
customizations | Configures editor settings and extensions |
containerEnv | Defines container environment variables |
You do not need to memorize every option. The important concept is understanding that devcontainer.json describes the development environment.
Dev Container Features
Dev Container Features are reusable components that add tools or capabilities to a development container.
For example, a project may need:
- Node.js
- Python
- Go
- Docker
- GitHub CLI
- AWS CLI
- Terraform
Instead of manually installing these tools every time, appropriate Features can be included in the container configuration.
This helps create more consistent and reproducible environments.
Codespace Lifecycle
A Codespace generally follows this lifecycle:
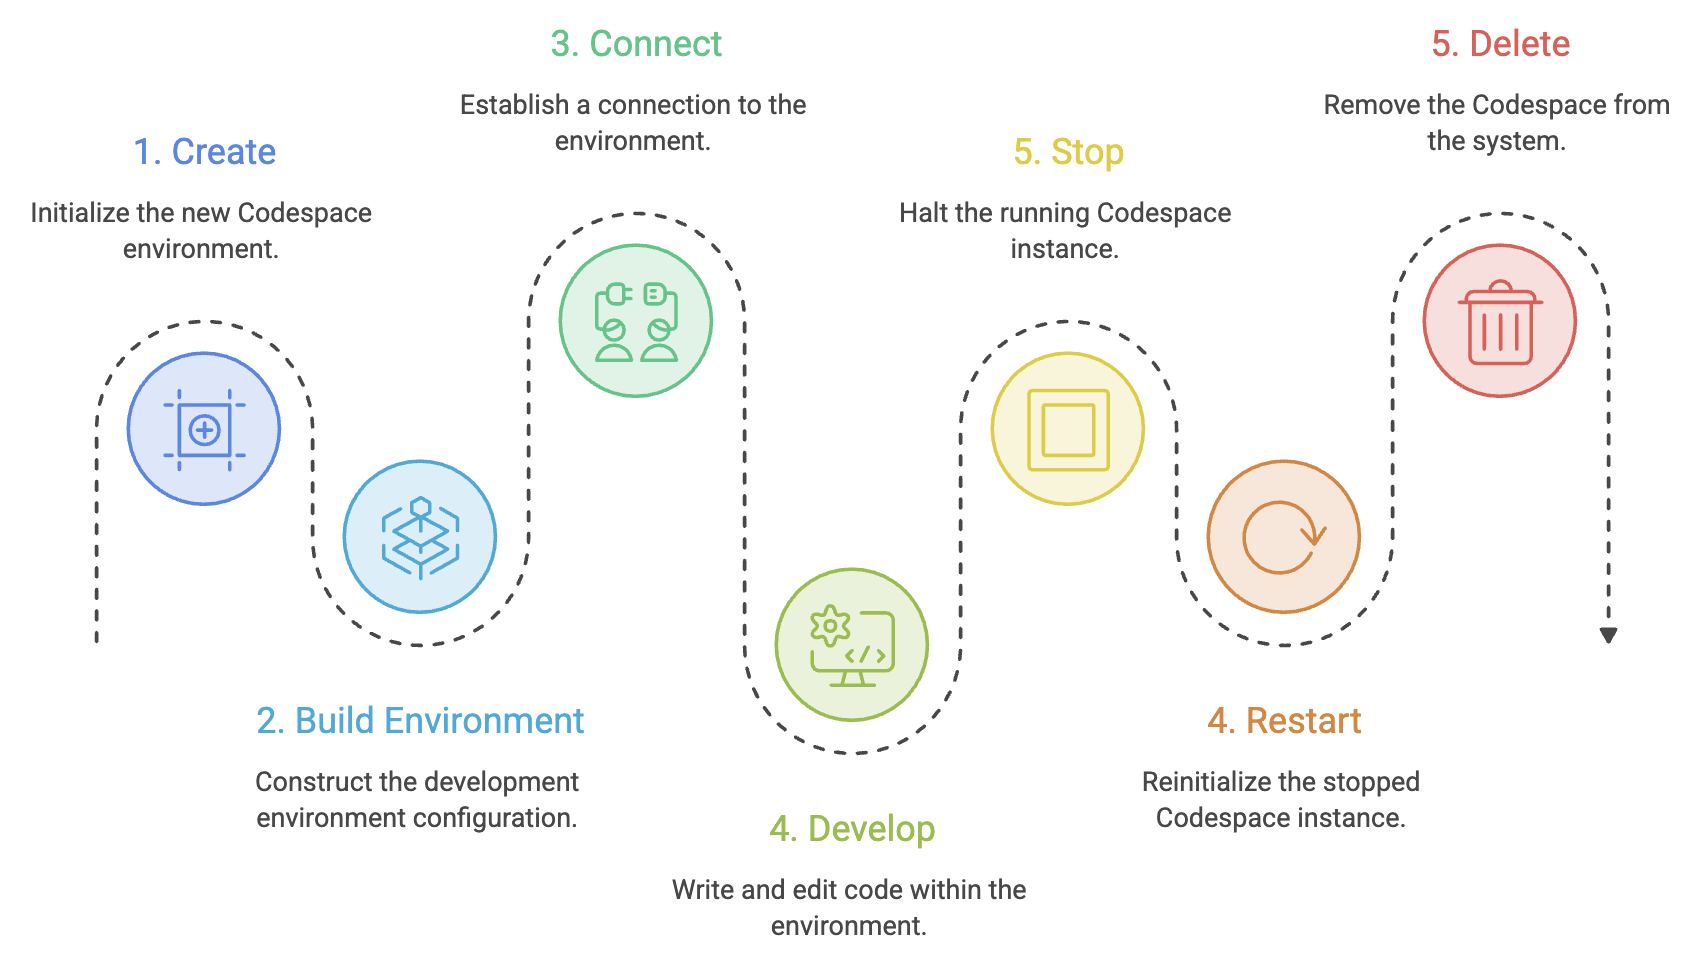
Stop vs Delete
These operations are different.
Stop
Stops the running environment while preserving the Codespace so it can be started again later.
Delete
Removes the Codespace environment.
A simple way to remember:
Stop   → Pause the environment
Delete → Remove the environment
Storage can still incur costs while a stopped Codespace exists.
Codespaces Prebuilds
Creating an environment may take time when dependencies and other project components need to be prepared.
Codespaces Prebuilds allow environments to be prepared in advance.
A simplified flow:
Repository
    ↓
Prebuild
    ↓
Environment Prepared
    ↓
Create Codespace
    ↓
Start Developing Faster
Prebuilds are particularly useful for projects where environment creation requires significant setup.
Port Forwarding
Applications running inside a Codespace can listen on ports such as:
3000
8080
5432
Codespaces can forward these ports so that applications running inside the Codespace can be accessed from the developer's browser or other appropriate clients.
For example:
Application
     ↓
Port 3000
     ↓
Codespace Port Forwarding
     ↓
Developer
This is useful when developing web applications, APIs, databases, and other network-based services.
Dotfiles
Developers often maintain personal configuration files such as:
.bashrc
.zshrc
.gitconfig
.vimrc
These are commonly called dotfiles.
Codespaces can apply a developer's dotfiles to new environments so that familiar:
- Shell settings
- Aliases
- Git configuration
- Editor preferences
can be reused.
This is useful for maintaining a familiar development experience across environments.
Secrets
Applications often require sensitive values such as:
- API keys
- Access tokens
- Service credentials
These values should not be committed directly to a Git repository.
Codespaces supports using secrets so sensitive configuration can be provided to the development environment without placing the values directly in source code.
Never hard-code passwords, API keys, or access tokens in source code or configuration files that are committed to Git.
Copilot in Codespaces
Codespaces can be used with GitHub Copilot to provide an AI-assisted development environment.
A typical workflow can look like:
GitHub Repository
       ↓
Codespace
       ↓
Editor + Terminal
       ↓
Copilot
       ↓
Write / Test / Debug
This combines a cloud development environment with AI-assisted coding.
The important distinction is:
- Codespaces provides the development environment.
- Copilot assists with development tasks.
Collaboration
Codespaces can also be used in collaborative development scenarios. Depending on the development setup, tools such as Live Share can support real-time collaboration.
For example:
- Pair programming
- Teaching
- Workshops
- Remote collaboration
- Working with contributors
Summary
- GitHub Codespaces provides cloud-based development environments. A Codespace can be created from a GitHub repository.
- Codespaces use container-based development environments, which can be customized through Dev Container configuration.
.devcontainer/devcontainer.jsoncontains environment configuration.- Dev Container Features provide reusable development tools.
- Prebuilds prepare environments in advance to reduce creation time.
- Port forwarding allows applications inside Codespaces to be accessed externally.
- Dotfiles allow personal development configuration to be reused.
- Codespaces can be accessed through browsers, VS Code, supported JetBrains IDEs, and SSH, and it can be used with GitHub Copilot and collaboration tools.
- Stopping preserves a Codespace, while deleting removes it.
Written By: Muskan Garg
How is this guide?
Last updated on