
Git History and Time Travel
Git is more than a tool for saving the latest version of your code. Because every commit represents a point in your project's history, you can inspect older versions, compare past states, and start new work from an earlier point.
This ability is often described as time travel in Git.
Understanding Git History
Each commit records a snapshot of the project at a particular point in time.
For example:
A ─── B ─── C ─── D
                ↑
             Latest
If the project is currently at commit D, Git still allows you to inspect commits A, B, or C.
This is useful when you want to:
- Understand how a feature evolved.
- Investigate when a problem was introduced.
- Inspect an older implementation.
- Start a new version from an earlier point.
- Understand the relationship between branches and commits.
Key idea: Git history is not just a record of changes, it gives you access to previous states of your project.
Exploring Commit History
View Detailed History
git logThis displays information such as:
- Commit ID
- Author
- Date
- Commit message
Example:
commit 7f3a21c...
Author: Developer
Date:   ...

    Add user authentication
View a Compact History
git log --onelineA shorter format is useful when you mainly need commit IDs and messages.
7f3a21c Add user authentication
4d8b912 Fix login validation
a91c620 Create user service
This is often more convenient when looking for a commit to inspect.
View the Commit Graph
git log --graph --onelineThis combines compact commit information with a visual representation of branches and merges.
Example:
* 7f3a21c Add payment feature
* 4d8b912 Update checkout
|\
| * a91c620 Fix login
|/
* 52bc810 Initial version
Git Time Travel
Suppose your project currently looks like this:
A ─── B ─── C ─── DYou want to see how the project looked at commit B.
You can check out that commit:
git checkout <commit-id>Example:
git checkout a1b2c3dGit changes the working directory to match that commit.
You can now open the project and inspect it as it existed at that point in history.
Modern Alternative
For switching between commits and branches, modern Git also provides git switch and git restore. However, checking out a commit with:
git checkout <commit-id>is still widely encountered and is important to understand, especially in existing projects and interviews.
What is HEAD?
To understand time travel, you need to understand HEAD.
HEAD represents your current position in Git.
Normally:
main
  ↓
  D
  ↑
HEAD
Here, HEAD ultimately points to the latest commit of the main branch.
When you check out an older commit:
A ─── B ─── C ─── D
      ↑
     HEAD
HEAD now points directly to commit B instead of pointing through a branch.
This situation is called detached HEAD.
Detached HEAD State
A detached HEAD means HEAD is pointing directly to a commit rather than to a branch.
Normal:

HEAD → main → D


Detached:

HEAD → B
       ↑
    no branch
Why Does This Matter?
You can safely inspect and test the project in this state.
However, if you create new commits here, those commits are not automatically associated with an existing branch.
For example:
A ─── B ─── C ─── D
      \
       E
Commit E exists, but no branch points to it.
If you later switch away without creating a branch, the commit can become difficult to find.
Rule of thumb: Use detached HEAD for inspection and experimentation. If you want to continue development from that point, create a branch.
Creating a Branch from an Older Commit
Sometimes an older version of the project is exactly where you want to start new development.
For example:
A ─── B ─── C ─── D
      ↑
   Start here
First, move to the desired commit:
git checkout BThen create a branch:
git checkout -b lite-versionNow you have:
main:          A ─── B ─── C ─── D
                    \
lite-version:        E ─── F
The new branch starts from commit B, while main continues independently.
Modern Git Alternative
You can create a branch directly from a commit:
git switch -c lite-version <commit-id>This is a cleaner approach when using modern Git versions.
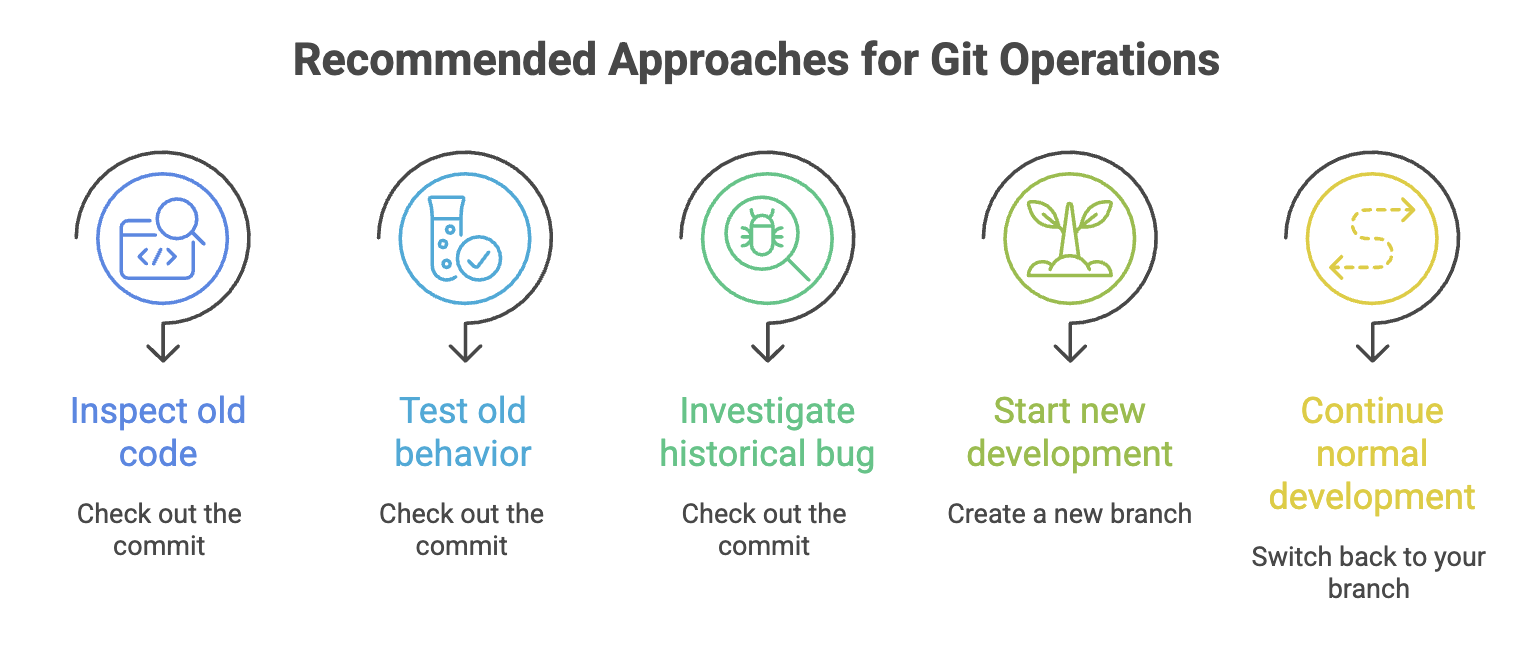
Inspecting an Old Commit Without Changing Branches
If your goal is simply to understand an older commit, you don't necessarily need to start new development.
You can:
git checkout <commit-id>Inspect the source code, run tests, or investigate behavior.
When finished, return to your branch:
git checkout mainor:
git switch mainExample
Imagine a production application currently has this history:
A ─── B ─── C ─── D
              ↑
         Bug introduced
You suspect the bug existed before the latest release.
You can inspect an earlier commit:
git log --onelineFind the relevant commit:
d91ab20 Release 2.0
c81ef32 Add payment validation
b71cd10 Release 1.9
Then inspect the older version:
git checkout b71cd10Now your working directory represents the project at that point in time.
You can test the application and compare its behavior with the current version.
Quick Reference
| Command | Purpose |
|---|---|
git log | View detailed commit history |
git log --oneline | View compact commit history |
git log --graph --oneline | Visualize commits and branches |
git checkout <commit-id> | Move to a specific commit |
git checkout -b <name> | Create a branch from the current position |
git switch <branch> | Switch to an existing branch |
git switch -c <name> <commit-id> | Create a branch from a specific commit |
Summary
- Git keeps a history of commits, allowing you to revisit earlier versions of a project.
git loghelps you find the commit you want to inspect.- Checking out a commit moves your working directory to that historical state.
- When
HEADpoints directly to a commit, Git is in a detached HEAD state. Detached HEAD is useful for inspecting and testing older versions. - If you want to build new work from an old commit, create a branch first.
- Use
git switchfor modern branch-switching workflows, while understandinggit checkoutremains important for existing Git workflows.
Written By: Muskan Garg
How is this guide?
Last updated on