
Merge Conflicts and Cherry Pick
Branching and merging make parallel development possible, but sometimes Git cannot automatically combine changes. In such situations, you need to resolve a merge conflict.
There are also cases where you don't want to merge an entire branch. You may need only one particular change. Cherry-pick is designed for exactly this situation.
What is a Merge Conflict?
A merge conflict occurs when Git cannot determine how two sets of changes should be combined automatically.
A common example is when two branches modify the same part of the same file differently:
main     → changes line 20 to A
feature  → changes line 20 to B
Git cannot safely decide which version is correct, so it stops and asks you to resolve the conflict.
Conflicts are not limited to exactly the same line. They can also occur when changes overlap in a way that Git cannot safely combine.
When Can Conflicts Occur?
| Changes in Two Branches | Likely Result |
|---|---|
| Different files | Usually automatic merge |
| Different, non-overlapping parts of a file | Usually automatic merge |
| Same or overlapping parts of a file | Potential conflict |
| File deleted in one branch and modified in another | Potential conflict |
So, simply working on the same file does not necessarily cause a conflict.
For example:
main:
Line 10 → changed

feature:
Line 50 → changed
Git can usually combine these changes automatically.
What Does a Conflict Look Like?
When Git cannot automatically combine changes, it places conflict markers inside the affected file.
For example:
<<<<<<< HEAD
System.out.println("Welcome");
=======
System.out.println("Hello");
>>>>>>> feature-login
These markers show the two competing versions.
| Marker | Meaning |
|---|---|
<<<<<<< HEAD | Beginning of the current branch's version |
======= | Separates the two versions |
>>>>>>> feature-login | End of the incoming branch's version |
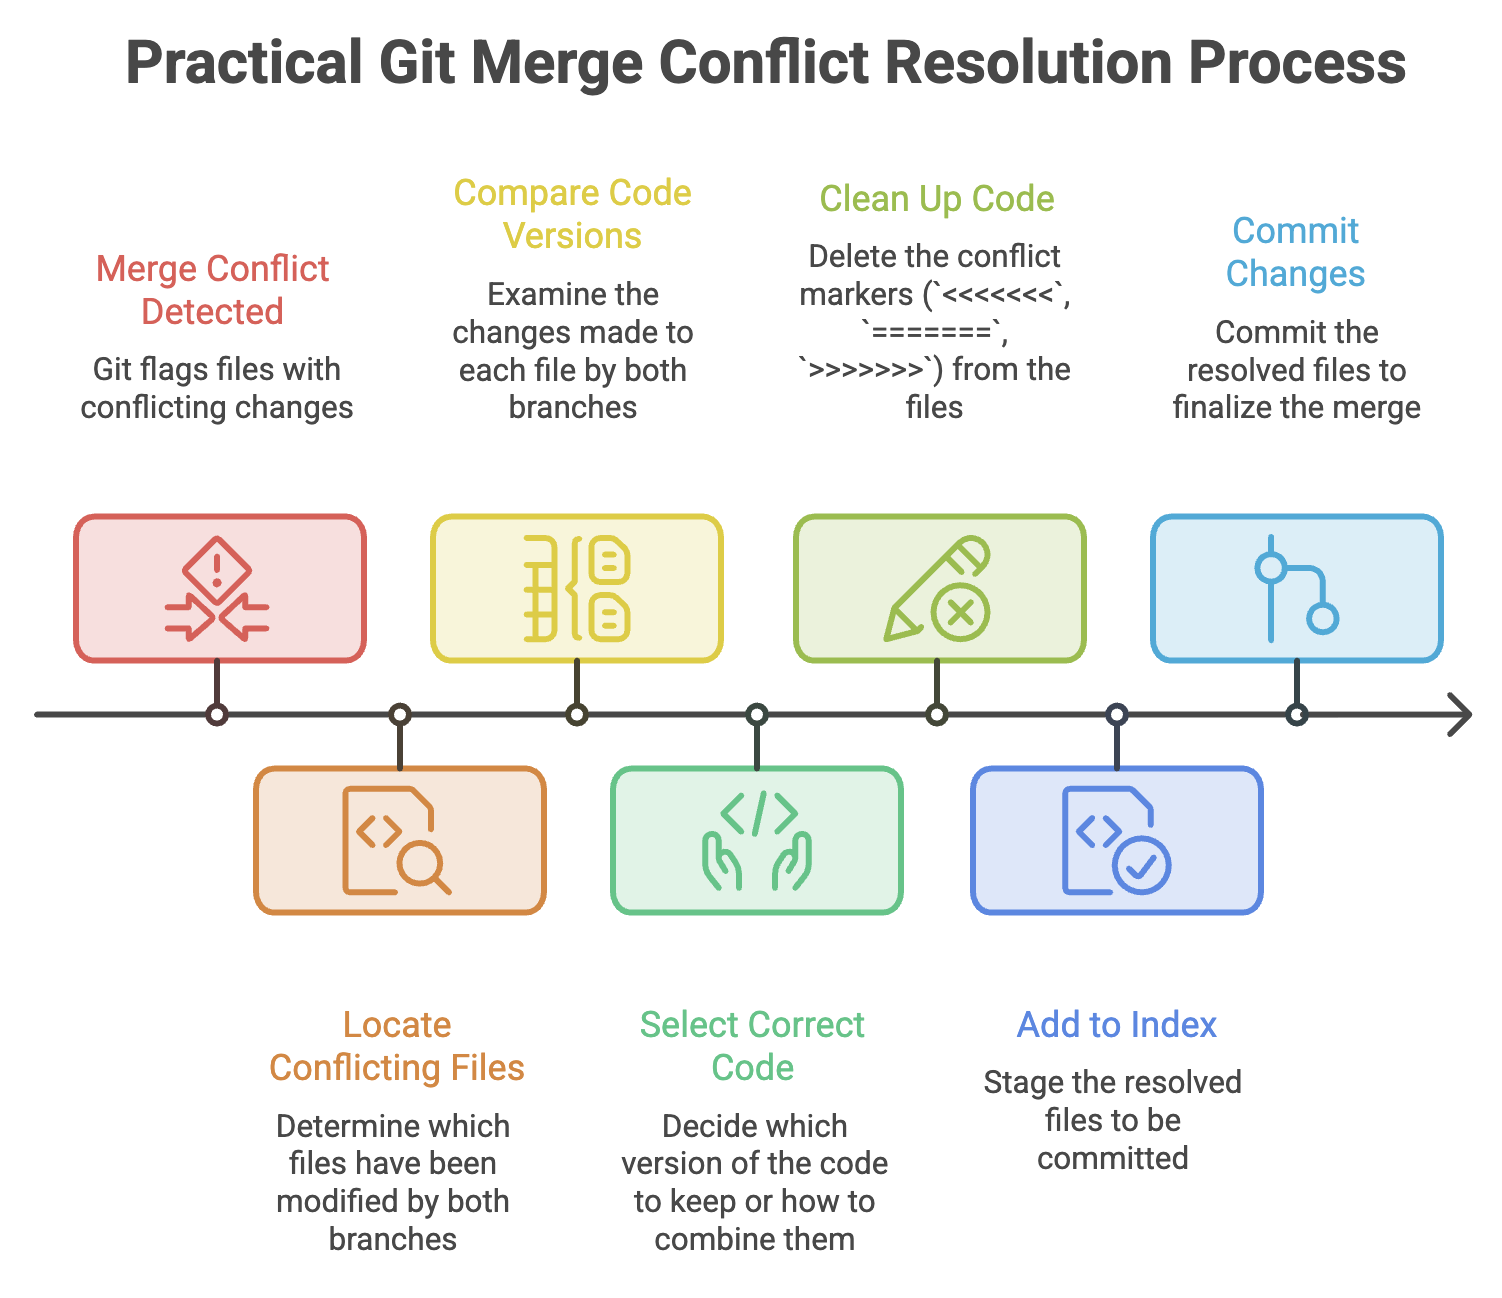
The conflict markers are temporary instructions from Git. They must be removed before the file can be committed.
Resolving a Merge Conflict
When a conflict occurs, don't immediately choose one side without understanding the changes.
Step 1: Check the Conflict
Run:
git statusGit will identify files that need conflict resolution.
Step 2: Open the Conflicted File
You may see something like:
<<<<<<< HEAD
return "Welcome";
=======
return "Hello";
>>>>>>> feature-login
Understand what each branch is trying to change.
Step 3: Decide the Final Code
You can:
- Keep the current branch's version.
- Keep the incoming branch's version.
- Combine both changes.
- Rewrite the section into a better solution.
For example, you might replace the conflict with:
return "Welcome to the application";Step 4: Remove Conflict Markers
The final file must not contain:
<<<<<<<
=======
>>>>>>>
Step 5: Stage the Resolved File
git add <resolved-file>For example:
git add UserService.javaStaging the file tells Git:
"I have resolved this conflict."
Step 6: Complete the Merge
For a normal merge, complete it with:
git commitYou can also provide your own message:
git commit -m "Resolve merge conflict"Cancelling a Merge
Sometimes you may realize that you started a merge too early or don't want to deal with the conflict yet.
You can cancel the merge with:
git merge --abortGit attempts to return your working tree to the state it had before the merge started.
This is useful when you want to step back and reconsider the integration.
Conflicts During git pull
A pull can also result in conflicts because git pull first obtains remote changes and then integrates them into your current branch.
For example:
git pull origin mainIf Git cannot automatically combine the changes, the pull stops for conflict resolution.
The process is then:
git pull
   ↓
Conflict
   ↓
git status
   ↓
Edit conflicting files
   ↓
git add <file>
   ↓
git commit
The exact completion step can differ if the pull was configured to use rebase rather than merge.
The important point is that the conflict-resolution process depends on the operation that produced the conflict.
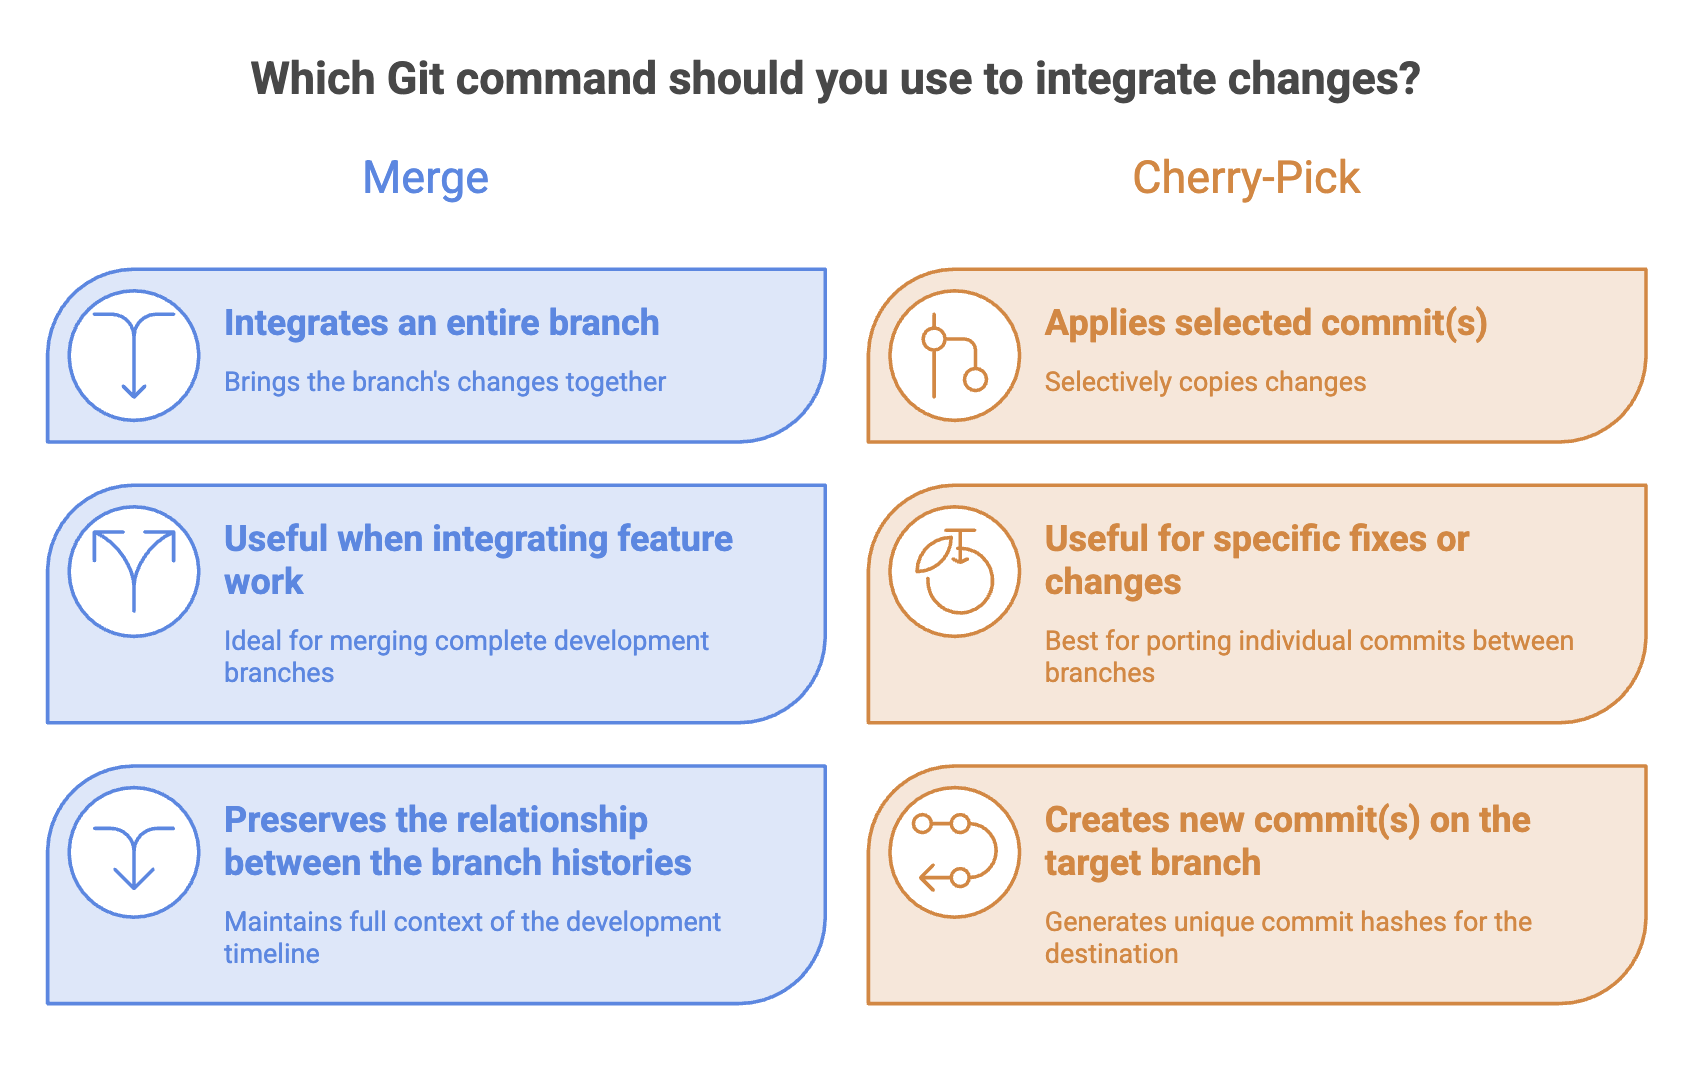
What is Git Cherry-Pick?
Sometimes you have a branch containing several commits, but you need only one specific change.
Instead of merging the entire branch, you can use:
git cherry-pick <commit-hash>Cherry-pick takes the changes introduced by a specific commit and applies them to your current branch.
Why Use Cherry-Pick?
Imagine this history:
main:
A --- B --- C

feature:
          \
           D --- E --- F
Suppose:
D= Login featureE= UI changesF= Critical security fix
You want only the security fix on main.
Instead of merging D, E, and F, you can cherry-pick F:
git cherry-pick FThe result:
main:
A --- B --- C --- F'
Only the changes introduced by F are applied.
Cherry-Pick Creates a New Commit
This is an important concept.
Cherry-picking does not move the original commit from one branch to another.
Instead, Git creates a new commit containing the same changes.
Original branch:

A --- B --- C --- D
                  ↑
             original commit


Target branch:

A --- B --- E
             ↑
       cherry-picked commit
D and E are different commits, even though E contains the changes introduced by D.
Their commit hashes will normally be different.
Cherry-Pick Workflow
Suppose the required commit is:
a1b2c3dStep 1: Find the Commit
Use:
git log --onelineExample:
a1b2c3d Fix payment calculation
82de91a Add payment validation
51ac762 Add payment service
Step 2: Switch to the Target Branch
git switch mainStep 3: Cherry-Pick the Commit
git cherry-pick a1b2c3dGit applies that commit's changes to main and creates a new commit.
Cherry-Pick Conflicts
Cherry-picking can also produce conflicts if the selected commit cannot be cleanly applied to the target branch.
If that happens:
1. Check the conflict
git status2. Resolve the affected files
Edit the files and remove the conflict markers.
3. Stage the resolution
git add <resolved-file>4. Continue the cherry-pick
git cherry-pick --continueIf you decide not to continue:
git cherry-pick --abortThis cancels the cherry-pick operation.
When is Cherry-Pick Useful?
Cherry-pick is particularly useful for:
Applying a Critical Fix
A bug is fixed in a development branch, but the same fix is urgently needed in a release branch.
development
     │
     └── Fix commit
             │
             ▼
       cherry-pick
             │
             ▼
       release branch
Backporting a Fix
A fix from a newer development line may need to be applied to an older supported version.
Selective Changes
A branch contains many commits, but only one of them is relevant to another branch.
Cherry-pick is a selective integration tool, not a replacement for normal branch merging.
Common Commands
| Command | Purpose |
|---|---|
git status | Identify conflicted files and current operation state |
git add <file> | Mark a resolved file as ready |
git commit | Complete a merge after resolving conflicts |
git merge --abort | Cancel an in-progress merge |
git cherry-pick <hash> | Apply a specific commit |
git cherry-pick --continue | Continue a cherry-pick after resolving conflicts |
git cherry-pick --abort | Cancel an in-progress cherry-pick |
git log --oneline | Find commits using a compact history |
Remember
Merge: Bring branch histories together.
Conflict: Git needs you to decide how overlapping changes should be combined.
Cherry-pick: Bring a specific commit's changes to another branch.
Written By: Muskan Garg
How is this guide?
Last updated on