
AWS Account and Git Bash Setup
Before we start working with a Linux server on AWS, we need two things: an AWS account to access cloud infrastructure and a terminal on our local machine to connect to that server.
In this lecture, we'll create an AWS account and install Git Bash on Windows. By the end, you'll have the basic tools needed to begin your Linux lab setup.
Creating an AWS Account
What is AWS Free Tier?
Amazon Web Services (AWS) is a cloud computing platform that provides services such as virtual machines, storage, databases, and networking over the internet.
AWS Free Tier helps new customers explore selected AWS services through free usage offers and promotional credits.
For new accounts, AWS currently offers up to $200 in credits. The Free account plan lasts up to 6 months or until the credits are exhausted, whichever comes first. The available services and limits depend on your account plan and eligibility.
Important: AWS Free Tier does not mean every service or resource is free indefinitely. Always check the current pricing and eligibility before launching resources.
Steps to Create an AWS Account
Step 1: Open the AWS Free Tier Page
- Open your browser.
- Visit the AWS Free Tier page.
- Click Create a free account to begin registration.
Step 2: Enter Your Email Address
- Enter your email address.
- Choose an account name.
- Click the email verification option.
- Enter the verification code sent to your email.
Use an email address that you can access, as AWS may use it for account notifications and verification.
Step 3: Create a Root Password
Create a strong password for your AWS account.
The root user has full access to the AWS account, so protect its credentials carefully. Avoid using the root user for routine tasks.
Step 4: Choose an Account Plan
During registration, AWS presents account plan options.
For this learning lab, select the Free plan, if available and suitable for your account.
Review the plan's restrictions and terms before continuing.
Step 5: Enter Contact Information
Provide the required account details, such as:
- Account purpose (Personal, if applicable)
- Full name
- Phone number
- Address
- Country or region
Make sure the information is accurate.
Step 6: Add a Payment Method
AWS requires a valid payment method during registration to verify your identity.
Enter your debit or credit card details as requested.
Keep in mind:
- A temporary card verification or authorization may appear.
- The amount and verification process can vary.
- A Free plan does not incur AWS usage charges while you remain on that plan, but paid-plan usage and other billing conditions differ.
- Do not assume that exceeding a free usage limit will automatically suspend your account or prevent charges.
AWS's Free plan is designed to prevent usage charges until you upgrade to a Paid plan.
Step 7: Verify Your Identity
Complete the identity verification process requested by AWS.
This may include receiving a one-time password (OTP) on your mobile number.
Follow the on-screen instructions to complete verification.
Step 8: Complete Registration and Sign In
Once registration is complete:
- Sign in to your AWS account.
- Open the AWS Management Console.
- Confirm that you can access the console dashboard.
The AWS Management Console is the web-based interface used to create and manage cloud resources.
Installing Git Bash on Windows
What is Git Bash?
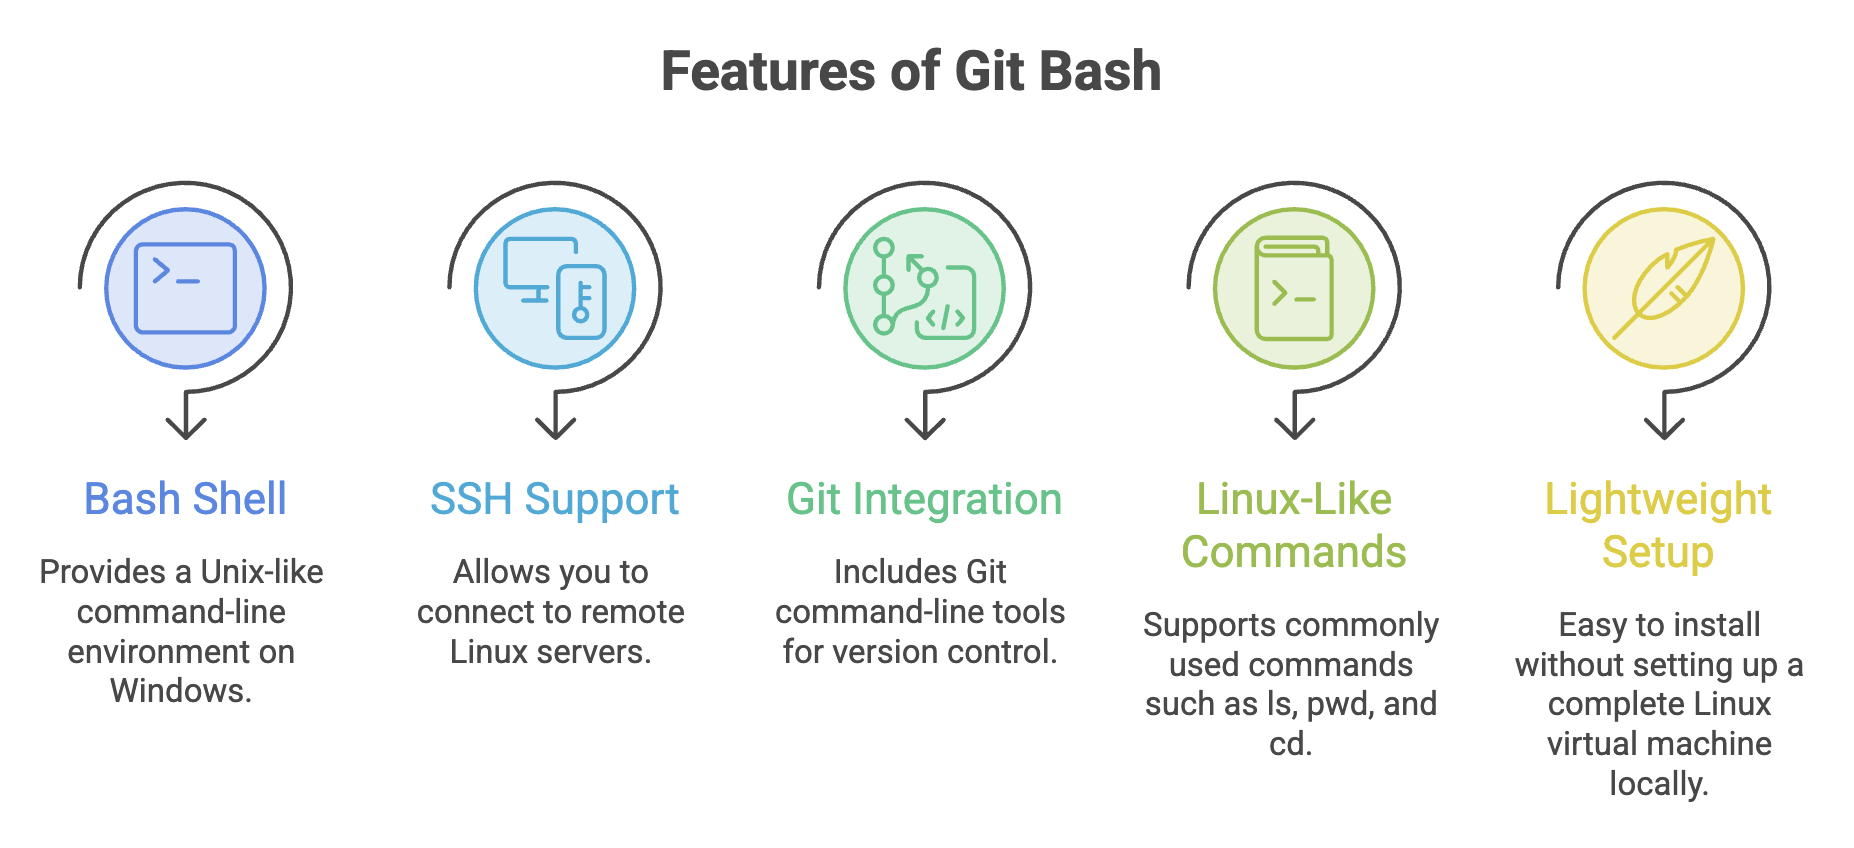
Git Bash is a terminal environment included with Git for Windows. It provides a Bash shell and a collection of Unix-like command-line utilities, allowing Windows users to work with Git and execute many familiar Linux commands.
In this learning path, we'll use Git Bash to connect to our AWS Linux server through SSH and execute commands remotely.
Important: Git Bash is not a complete Linux operating system. It provides a Unix-like terminal on Windows. The Linux commands we run after connecting through SSH will execute on the remote Linux server.
Steps to Install Git Bash
Step 1: Download Git for Windows
- Open your browser.
- Visit the official Git for Windows download page.
- Download the appropriate installer for your system, such as the x64 setup for most Intel or AMD Windows computers.
Git Bash is included with Git for Windows, so you don't need to download it separately.
Step 2: Install Git
- Open the downloaded installer.
- Follow the installation wizard.
- Keep the default options unless you have a specific requirement.
- Complete the installation.
For this guide, the default installation settings are sufficient.
Step 3: Open Git Bash
After installation:
- Open the Windows Start menu.
- Search for Git Bash.
- Click to launch it.
A terminal window will appear where you can enter commands.
Verify the Installation
Let's confirm that Git Bash and SSH are available.
Run the following commands in the Git Bash terminal:
Check Git installation:
git --versionThis displays the installed Git version.
Check SSH availability:
ssh -VThis displays the SSH client version.
If both commands return version information, the required tools are available.
For macOS and Linux users: You can use your built-in Terminal instead. Git and SSH may need to be installed separately, depending on your system.
Summary
- AWS provides cloud infrastructure for creating and managing virtual machines and other resources.
- AWS Free Tier offers credits and eligible free usage, subject to account plan restrictions and terms.
- AWS requires account verification, including contact and payment information.
- Git Bash provides a Bash-based terminal environment on Windows.
- Git Bash includes Git and supports SSH connections to remote servers.
- After launching an EC2 instance, we'll use Git Bash to connect to it and begin practising Linux commands.
What's Next?
Now that your AWS account is ready and Git Bash is installed, you're prepared for the next stage of the Linux lab.
In the upcoming lecture, we'll:
- Launch an Ubuntu EC2 instance on AWS.
- Configure the required connection settings.
- Connect to the Linux server using SSH from Git Bash.
This will give you a remote Linux environment where you can practise commands and explore the Linux system hands-on.
Written By: Muskan Garg
How is this guide?
Last updated on